

It is not often that little daughters can claim that their daddies have built a castle for them. Well, the little daughter of Redditor ‘skerley1979’ can proudly make such a claim, as is evident from the Princess Castle installed in her very bedroom.
Comprising of a hollow space below (for toys) and a loft bed above, the impressive construction took around $650 to build. And, the best part is – this room-based castle can be totally disassembled and then assembled on a different site, by just connecting six components.
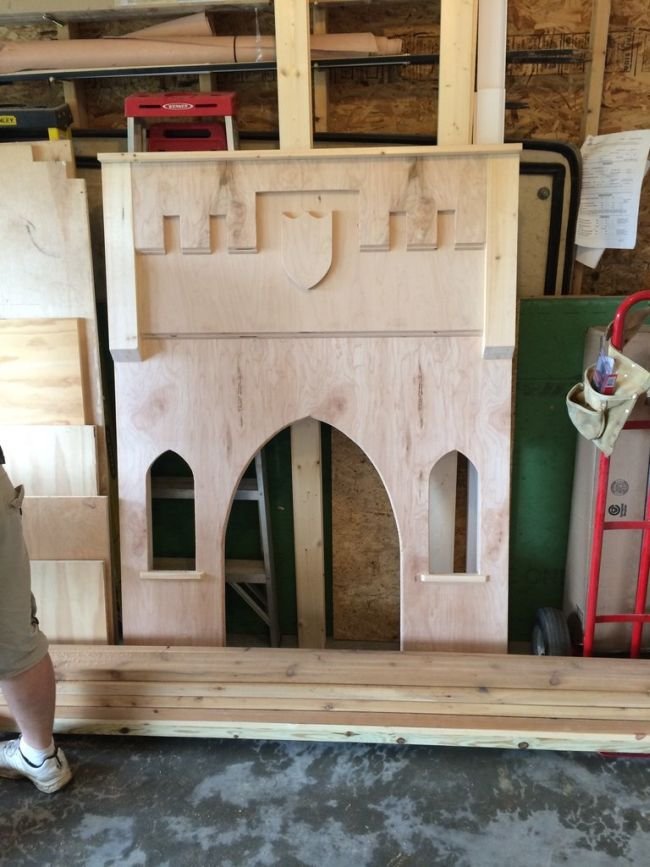
The project was started off by crafting the front facade with its ‘medieval’ patterns. Then the DIYer moved on to the conspicuous towers along the two flanks. All of the materials used for the bunk-bed pertained to 3/4-inch maple finished plywood.

On closer inspection, one can see the 45 degrees chamfering along the corner edges for the towers. The inner open-cabinets were arranged accordingly, thus transforming the towers into nifty shelving systems. You can take a look at our tutorial on how to build the bookshelves.

The towers and the front facade was connected by using EZ locks. The inner surfaces of the castle (2×4’s) were sanded, and their edges rounded off. Then the locks were embedded on to the 2×4’s, while bolts were pushed through the aforementioned towers – thus fixing the components together.

The above picture aptly showcases the EZ locks that are embedded on to the vertical posts along the window flanks. We can also make out the bolts – but all of them are on the inner side (as mentioned earlier), and hence are hidden from the outer view.

The sectional view of the (under construction) castle exhibits the hollow cut inside the structure needed for the occupant to get move around in the lower level. This small space (on completion) can be used for keeping the toys.
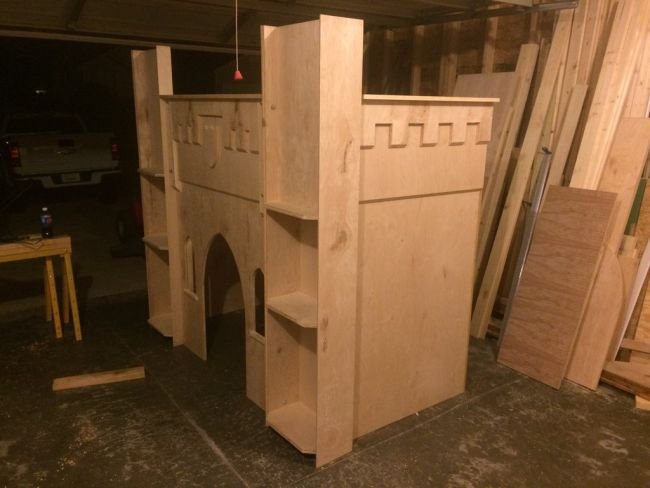
Here we can see the main structure of the room castle finally coming into its full-form – with the addition of the side and rear plywood panels. The medieval finishing is also continued on the side facades.

Now, coming to the upper-level loft, the DIYer’s (or more specifically his wife’s) biggest concern was that the bed wouldn’t be able to support the children on top. For this, skerley1979 added a layer of buckling material, and then had it stapled atop the naked slats. The center of the bed was further reinforced with the 3/4-inch plywood ‘leftovers’.

The final unpainted version.

Detailed painting and texture work done by the DIYer himself.

Lastly, a ladder was added on to the side for access to the loft-bed.
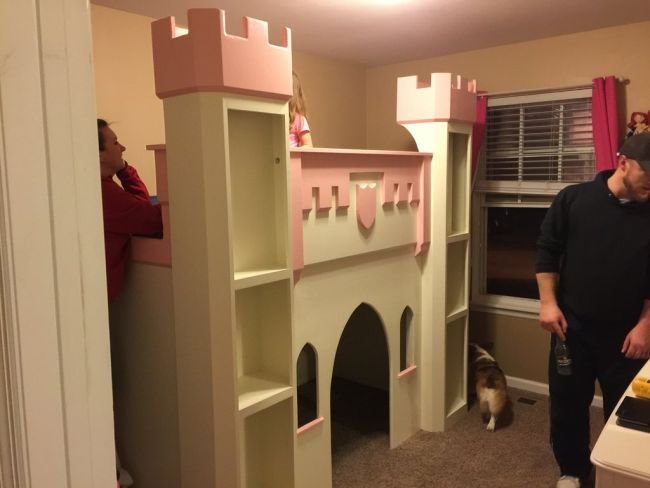


And voila! We ultimately have the Princess Castle fit for the little princess. For more details on the project, you can check out this Imgur page.


