So, are you ready to enhance your backyard with a DIY wooden deck? It’s not nearly as complicated as professionals would have you believe. All you need is a good plan, some guidance, and the right tools to get the process done. If you’re interested then read on and we’ll show you how to build a wooden deck from beginning to finish.
Want to Know How to Build a Wooden Deck? Start with a Plan
The first thing you’ll need to do is measure out the area you’re planning on building the wooden deck in. Most decks end up being square, but you’re free to make whatever shape you wish.
Just keep in mind that any angles that are on the outside of the deck are going to complicate things if you’re not good with a miter saw. It can certainly be done, however, by those who’ve got a bit more DIY skill than the average Joe.
Once you have measurements it’s time to get a free weekend and get started on the deck itself.

Level the Ground and Place Anchors
If the ground you’re planning on building over isn’t level already this will be the first step. In many cases, however, the ground is already pretty much there and you won’t have to spend much time making sure things are flat for your wooden construction.
It doesn’t have to be perfect, it’s actually the anchor posts that will level the deck itself.
You’ll next want to dig down with a post-hole digger so that you can plant the anchors into the ground. Make sure they’re flat by placing a bubble level across the top of them.
You can use gravel to backfill the holes and ensure the posts stay put. It’s essential in conditions with sandy soil but if the soil is rather heavy then you may not need it.
The anchors should be filled with concrete. Double-check that they’re placed correctly before this step. A few inches can make a big difference here and mean the difference between a professional-looking deck and a wonky, crooked one.
Put the Support Beams In
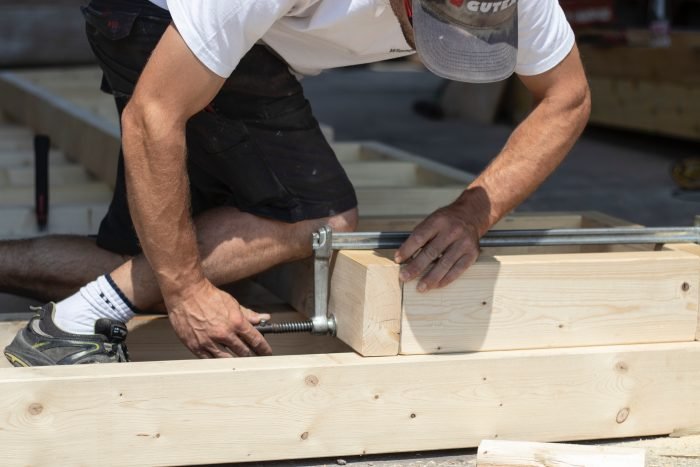
You need to place the support beams in the anchor posts. The metal portion which sticks up needs to be perfectly aligned for a good finish.
It’s important to consider the fasteners here. Some people will use standard screws when they’re doing the process themselves but the foundation needs to be stronger in most cases. The best way to do so is with heavy bolts and an air ratchet to clamp them down.
You’ll also need to use brackets for the corners to make sure that the whole frame doesn’t warp. These can be installed with a simpler fastener, they’re mostly for reinforcement.

You’ll also want to attach joists and use brackets to hold them in place. These boards are what you’ll use to make sure that the entire floor of the deck is supported.
Once the support beams are in place the majority of the really hard work is done but most people can have this stage done in a single day if they’re dedicated and already have some experience on how to build a wooden deck.
Attaching Boards to the Joists
The process of learning how to build a wooden deck might seem daunting at first, but you’re getting to the point where you have a real deck now!
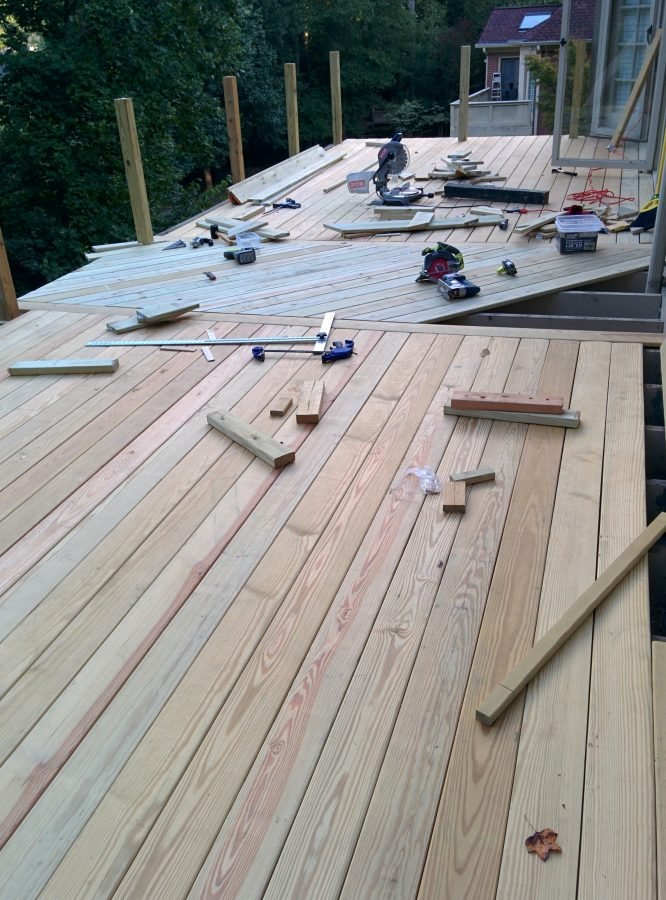
You’ll want to take the support boards and place them along the frame. The joists should allow you to drive a bolt or screw every 12-18” along the length of the deck.
Align the first board perpendicular to the joists and move things along. If you have an air ratchet you can also drill pilot holes and then touch the top with a ¾” step bit for bolts to provide a more heavy-duty hold.
Make sure to position all of the fasteners, whatever they may be, at the same depth in each board. Roughly 1” from the outside of the board is a good fit and if you’re using 2×6 boards you should drive two fasteners per joist.
Depending on the length of your deck you may need to cut boards. For the best aesthetic results, you should stagger the boards and ensure that they’re as evenly placed as possible. You can also cut angles into them to go for a seamless look, but it’ll take some serious skill and experience to pull off.
Trim the Deck
After you have all of the floorboards installed on the deck you’ll need to trim the edge to ensure a smooth, even fit.
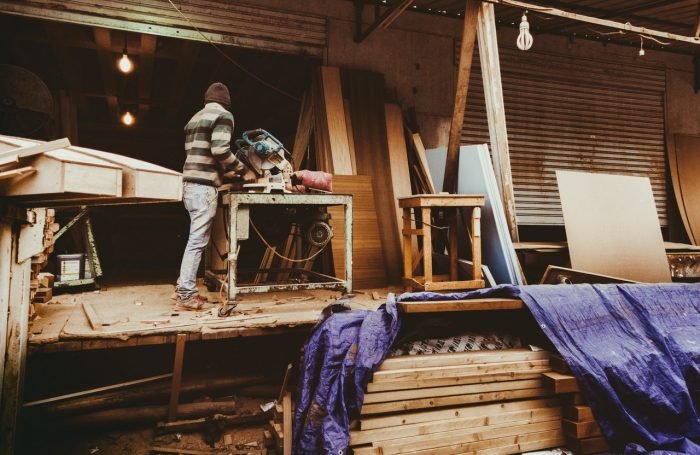
The best tool for this is a circular saw, just make sure you have a long enough cord to make the run in one smooth cut to avoid any tearing which may occur if you aren’t careful to bring the saw out smoothly.
Once trimmed, it’s time for the details.
Railing and Stairs for Your Wooden Deck
In all honesty, this is what most people are paying for, as crafting the base of the deck is an easy overall task.
The easiest way to install the supports for a railing is through using angle brackets and 1×2’s placed every six inches. Place a bracket on both sides of each support for a steady final result.
You can install the actual rail easily by driving screws into these supports and cutting angles where they meet any stairs that might need to be installed.
The stairs themselves are a bit of a problem for most people. Just pay special attention to ensuring that they’re 36”x12” for the best results. The average raise for stairs is about 7”. Calculations are pretty easy from that point, just install the joists and then the surface of the stairs.
A Wooden Deck You Can Be Proud Of
Installing a deck you’ve made yourself is no small task but it’s definitely not outside of the skill range for those with the tools to put it together. If it’s your first time it may not be perfect, but it’s definitely a deck you can be proud of long into the future.
Are you ready to start building your wooden deck? If so, then gather your tools and make your blueprint today!