
Have you ever tried to fathom what drive the legions of passionate DIYers out there to take charge and get their hands dirty? Is it because they have nothing better to do? Or is it knowledge and the satisfying feeling of self-sufficiency that these zealous experimenters crave? Well we are guessing it’s the latter. DIY philosophy doesn’t just pertain to smart home improvement assignments, but can in fact have a positive influence on all aspects of one’s life. So if you are lacking DIY motivation, turn to this adventurous Redditor, who has repaired a beautiful lamp all by himself, for inspiration.
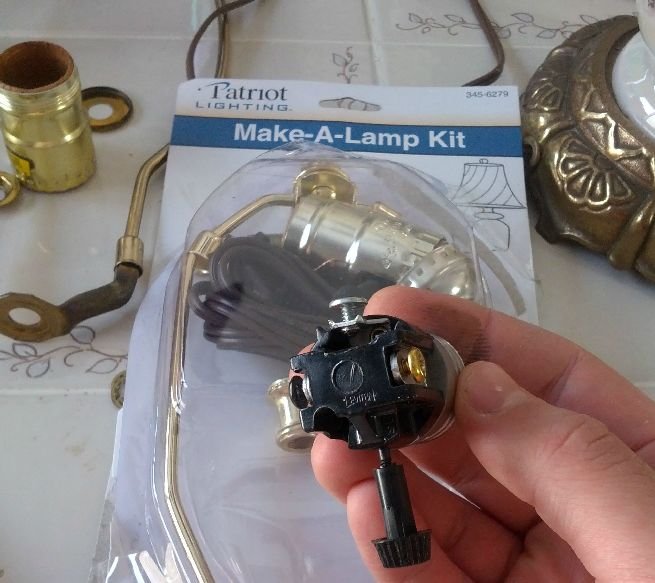
Going by the name ‘warkmilk’, the Redditor commences his repair project with a faulty lamp that shoots sparks when plugged into the socket. Although he bought an entire “Make-a-Lamp” kit for $14, a power cord, socket interior, socket shell and socket cap are the only things required. So it would definitely be more economical to buy the things separately from a hardware store.
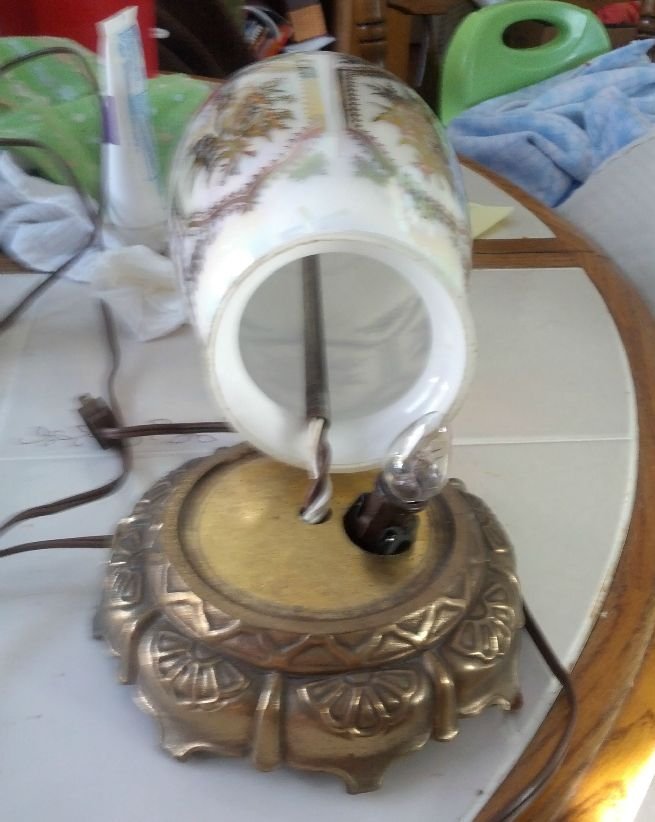
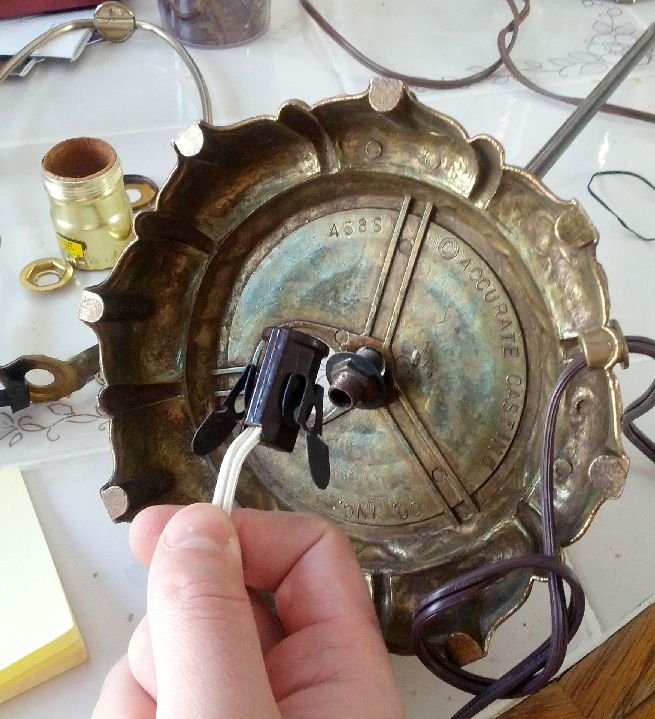
The lamp has a double-bulb lighting system, with one at the base of the lamp shade and a standard incandescent light bulb at the top.
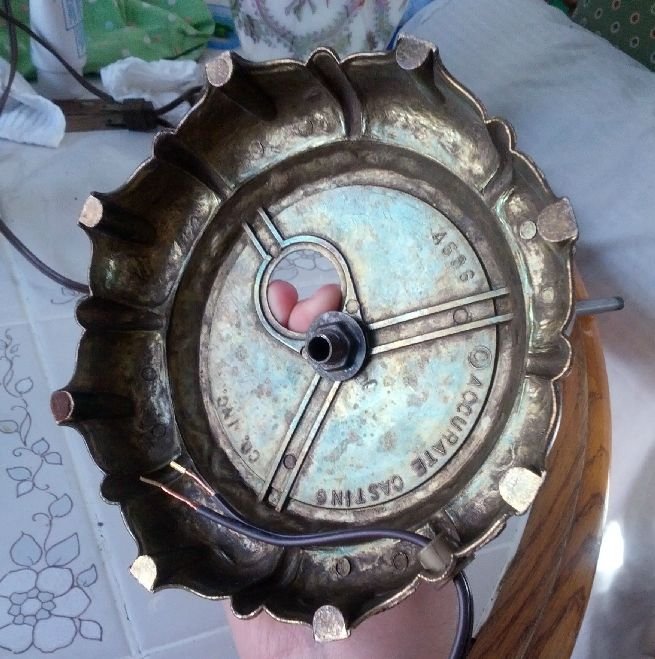
‘warkmilk’ starts rewiring the lamp by threading the new lamp cord through the hole located at the base
and then securing it by means of a knot to keep it from pulling on the fixture.
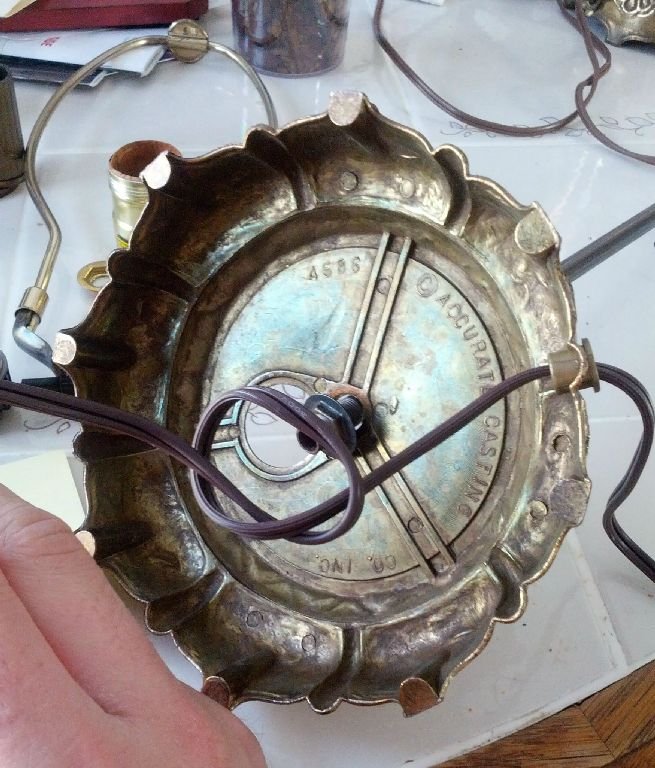
The second source is clipped onto the base along with the fixture( bought from Amazon for $6) for the base bulb.


The threaded wires are then run through the center post, and the lamp is reassembled with only the top part remaining.
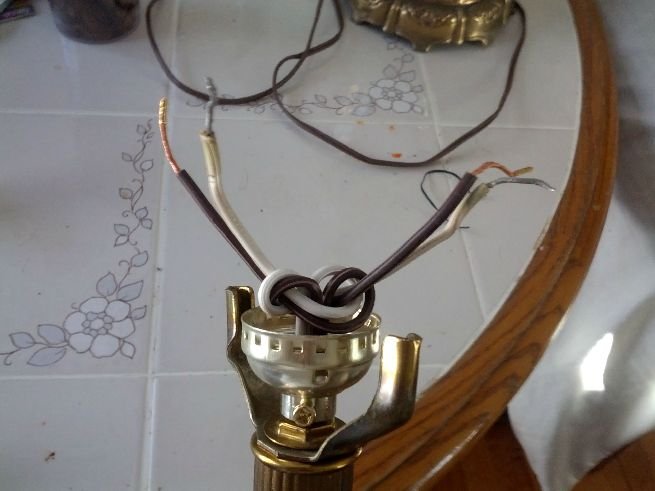
The wires are fastened with the help of a double underwriter’s knot. The knot acts as a strain relief, such that when the wiring is tugged at or pulled, the knot actually protects the connection. But care should be taken to ensure that the knot is snug and not too tight.
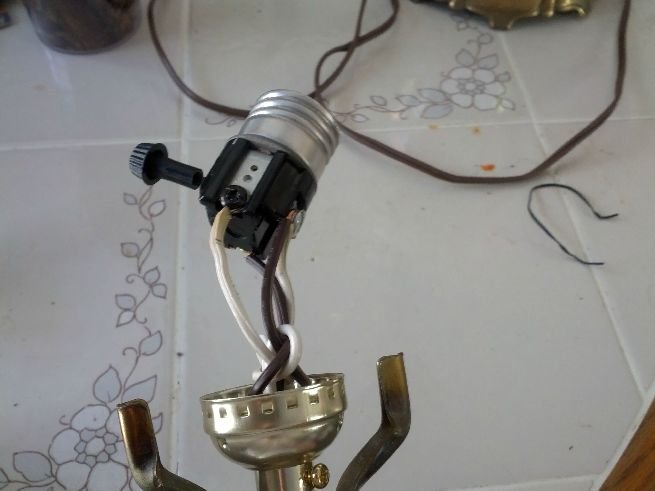
The wires are then affixed to the fixture for the top bulb and locked in place.
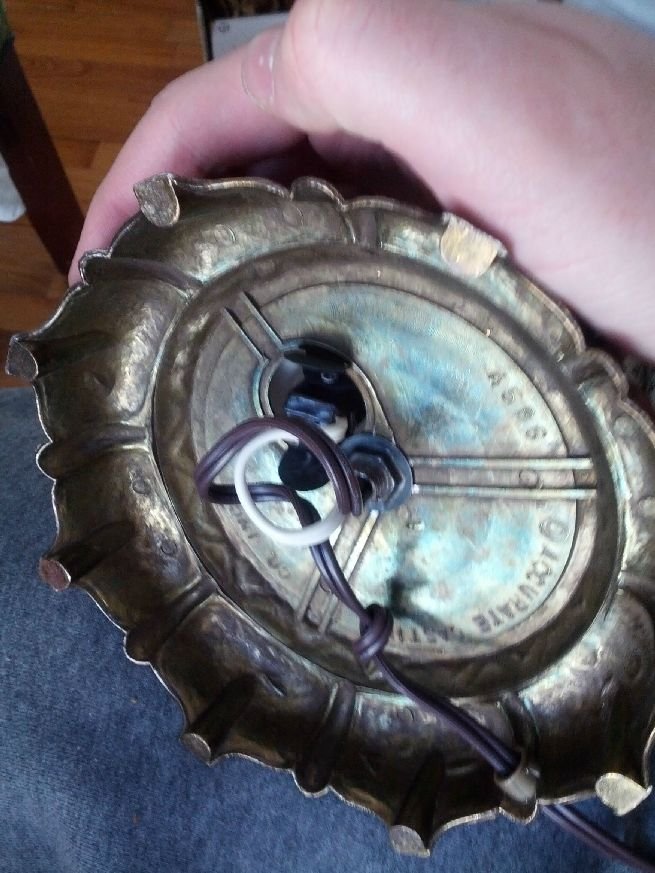
The knot at the base is clinched and cleared of the overhanging wires.
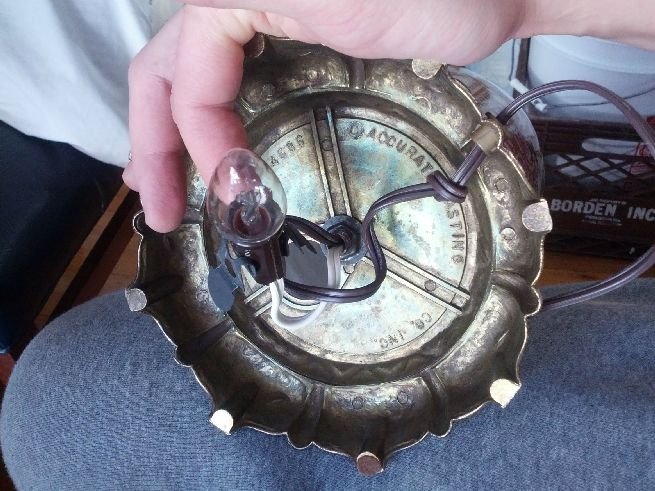

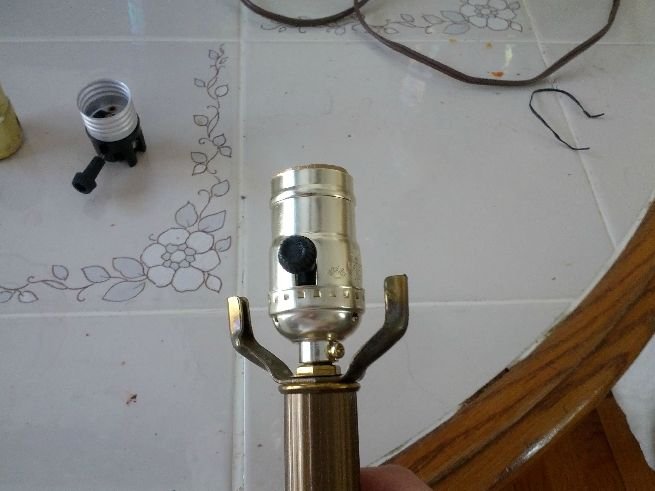
The two bulbs are finally fitted into their respective fixtures, thus completing the entire setup.

All of this for just $20 and now, look at how beautifully it works!!
Via: Reddit


